
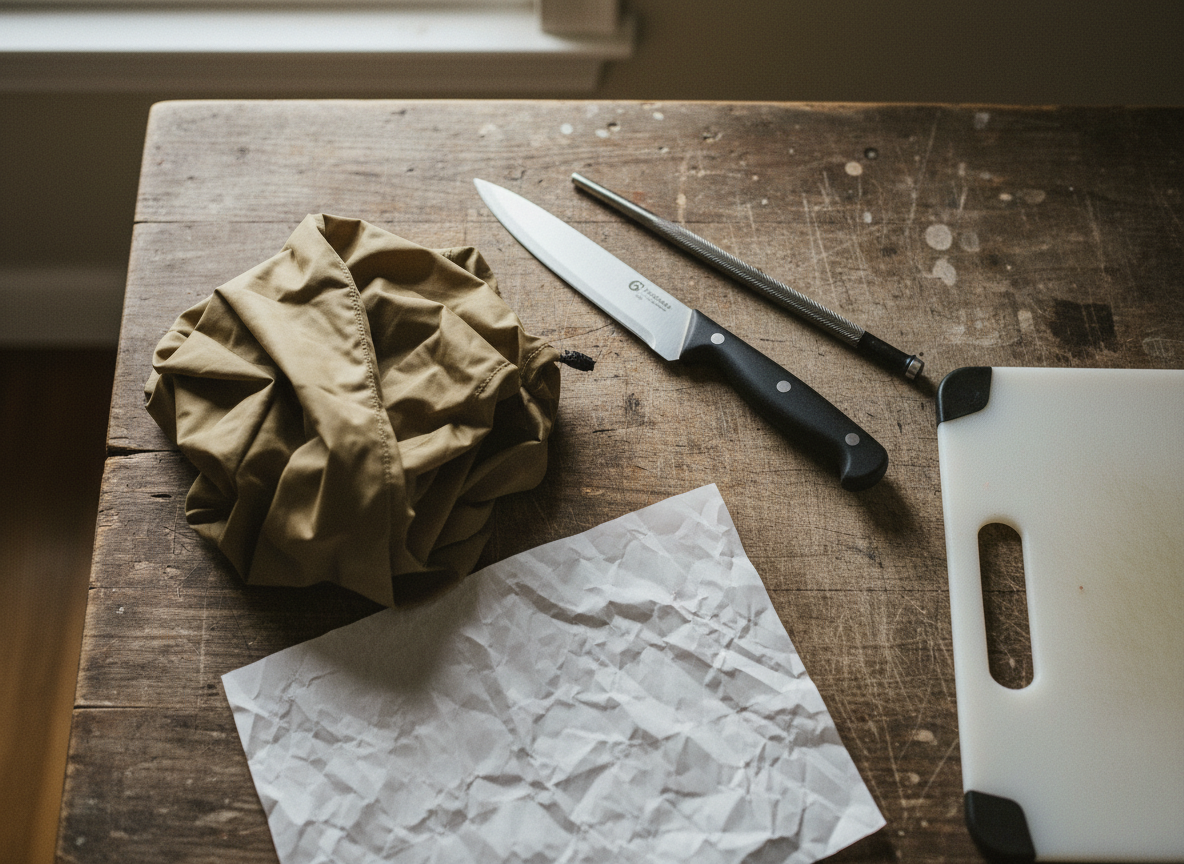
Learning to butcher a deer at home is the biggest upgrade most Panhandle hunters can make to their season, and it has little to do with saving money. The nearest processor is often an hour of dirt road away, backed up three weeks deep by the second weekend of November, and what comes back is a box of white paper packages you take on faith. Doing it yourself takes an afternoon, a clean table, and two knives. Not difficult, only unfamiliar the first time.
Debone It, Don’t Saw It
The old way was to treat a deer like a beef carcass: hang it, saw across the bone, and come out with round steaks and chops that look like a butcher case. Skip that. Deboning means separating the muscle groups along the seams already in the animal, never touching bone with a blade.
A bone saw drags marrow and bone dust across every surface it touches, and marrow is where most of the gamey flavor people complain about comes from. Bone-in cuts also eat freezer space. A mature Panhandle buck gives up 45 to 55 pounds of boneless meat — a chest freezer shelf, not a whole freezer.
There is a regulatory reason to bone it out too. Texas has chronic wasting disease zones, and hunting inside one limits what you can legally haul out; boned meat is the least restricted thing you can carry. The zones shift year to year, so check TPWD’s chronic wasting disease page before you plan around it.
What You Need to Butcher a Deer at Home
Everything you need to butcher a deer at home fits on one table, and the list is shorter than the internet suggests.
- A six-inch flexible boning knife, plus a second blade so you can cut while one gets touched up
- A steel or ceramic rod — you will want an edge four or five times during one deer
- A plastic cutting board, or food-grade poly on a folding table
- Three bowls or trays — steaks, roasts, grind
- Butcher paper or vacuum bags, and a marker
The knife is the one place spending matters, and it matters less than people think. A Victorinox Fibrox six-inch flexible boning knife is what most commercial processors hold, costs less than a box of ammunition, and the flex is what lets you ride the curve of a femur instead of fighting it. A stiff hunting knife works, but you will work twice as hard at it.
If you would rather carry one heavier fixed blade for both the field and the table, the CRKT Soldotna is a thicker-stock drop point with a micarta handle that does not go slick when your hands are wet. Less nimble than a boning knife around a hip joint, and the better knife for everything that happens before the animal gets home.
Hanging and Aging in Panhandle Weather
Aging improves venison, but only between about 34 and 40 degrees. Above 45 you are not aging, you are spoiling — a distinction that ruins more Panhandle deer meat than bad shooting does.
Archery opens here in the first days of October with highs still in the nineties, so hanging is off the table — quarter it and get it on ice the same evening. Even by the November opener, a nighttime low of 34 does you no good if the barn hits 65 by two in the afternoon.
The answer in this country is a cooler, not a rafter. Quarter it, bag the quarters, and pack them with the drain cracked so meltwater runs out instead of pooling. Four to seven days gives you everything hanging would, with none of the weather risk.
Size it honestly: a quartered whole deer will not fit in a 45-quart box with enough ice left to matter, so plan on one big cooler or two medium. If you intend to butcher a deer at home every season, buy the big one once. The RTIC 52 QT Ultra-Light is the easier one to live with — roughly a third lighter than a rotomolded cooler, which you notice lifting a full one into a truck bed alone.
The Yeti Tundra 65 is the opposite trade — heavy rotomolded construction that holds ice longer than anything else sitting in a hot shed for a week. Yeti skips the fifty-quart range in the Tundra line entirely, going 45 then 65, and for a whole deer the 65 is the one that works.
Keep the quarters in breathable bags, not plastic, while they chill. Reusable ripstop game bags let the surface dry and crust slightly, which is what you want — meat sealed wet in a trash bag sours at the surface even on ice.
Taking the Deer Apart
Order matters when you butcher a deer: take the best cuts off first, while your edge is fresh and your hands are clean. This assumes the animal is already gutted, skinned, and chilled — if not, the sequence is in how to field dress a whitetail deer.
Backstraps first. They sit in the trough either side of the spine, outside the ribs. Run the knife tip along the vertebrae, then along the outside edge where loin meets ribs, and lift the strap out whole — a cylinder two to three feet long. Start here, because backstrap is the cut you least want to ruin.
Tenderloins. Inside the body cavity, under the spine just forward of the pelvis. Two small soft muscles, the best meat on the animal, and they dry out fast — pull them the same day.
Front shoulders. Lift the leg away and cut straight down into the gap. Nothing but muscle and a thin sheet of connective tissue holds a deer’s shoulder to its ribs — no ball-and-socket joint. Keep cutting toward the spine and the shoulder peels off.
Hindquarters. The only real joint work. Cut along the inside of the leg to the ball joint at the hip, then rotate the leg outward hard. The joint pops and you finish with the knife. 15 to 20 pounds each on a good deer.
Neck, ribs, flanks. Strip it all for grind. Neck meat is excellent and routinely thrown away — the most wasted cut on a deer.
Breaking Down a Hindquarter
The first time you butcher a deer, the hindquarter is where your nerve goes, and it is the simplest part once you see what you are looking at. A hind leg is four big muscles stuck together with silverskin, and they come apart with your fingers nearly as much as with the blade. Lay it flat and find the seams — thin white lines between muscle groups. Work a thumb in and pull. They separate cleanly, and from there you are only trimming each free of the femur.
What you get: top round and sirloin tip, good enough for steaks or a roast; bottom round, better braised or ground; and the eye of round, a small football-shaped muscle that is excellent whole. Trim every bit of silverskin off anything headed for a grill — it does not render and it does not chew, and it is the other half of why people think venison is tough. Front shoulders carry too much connective tissue for steaks; bone them out for grind, or braise one whole.
Grinding and Wrapping
Butcher a deer at home and you will finish with 20 to 30 pounds of trim. Get it nearly frozen before it goes near a grinder — warm meat smears instead of cutting, and smeared meat turns to paste.
Venison carries almost no intramuscular fat, so it grinds dry. Most people add beef fat or pork at 10 to 20 percent; a grocery butcher will usually sell you suet cheap if you ask. Grind it pure if you would rather, and plan on chili, enchiladas, and anything else with moisture in the pan.
An electric grinder turns a four-hour job into one hour. The STX Turboforce 3000 is the usual starting point for a household doing one or two deer a year — a #12 head, multiple plates, and enough motor to pull coarse-ground shoulder without stalling.
Vacuum sealing beats butcher paper on anything you keep past six months, which is most of a deer. Paper-wrapped venison burns in four to six months; vacuum-sealed holds a year or better. The FoodSaver FM2100 is the entry-level machine most hunters land on. Pre-freeze ground meat into flat one-pound bricks before you seal it, or the vacuum pulls the mince through the bag seal and ruins it.
Label every package with the cut and the date. You will not remember in February.
Mistakes That Cost You the Meat
Most people who butcher a deer badly did not make a bad cut. They made one of a handful of ordinary mistakes somewhere between the field and the freezer, and every one is easy to avoid once somebody tells you.
Do not hose it off. Rinsing a quarter with a garden hose feels like cleaning and does the opposite, driving surface bacteria into the tissue and waterlogging the outside so it never crusts over. If something needs to come off, trim it or wipe it with a damp rag.
Do not let it sit in meltwater. This is what people get wrong with the cooler method. Ice melts, water pools, and quarters sitting in it come out pale, slick and washed-out. Crack the drain plug and leave it cracked, prop the low end up, check it daily. Meat on ice is right; meat in water is not.
Do not leave the hide on overnight in warm weather. A hide is insulation and it works as well on a dead deer as a live one. A gutted deer with the hide still on holds body heat in the hindquarters for hours after the air has cooled off. Skin it the same evening.
Keep hair off the cut surfaces. Much of what people call gamey is hair and hide contact, not the animal — deer hair is hollow and greasy and the smell transfers immediately. Pull the hide down and away as you skin, and pick off what lands on meat.
Do not save the fat. Beef fat is an asset; deer fat is not. It is waxy, it coats your mouth, it carries the strongest flavors in the animal, and it goes rancid faster than the meat. Trim it and throw it out — which is exactly why you add beef or pork fat back at the grinder.
Do not feed sinew into the grinder. It will not cut. It wraps the auger, blinds the plate, and turns the next few pounds to paste. Trim as you go instead of clearing a jammed head.
Do not season before freezing, and do not refreeze what you thaw. Salt pulls moisture out and speeds rancidity in whatever fat you added, so season at the skillet instead.
Start With One Hindquarter
Nobody needs to butcher a deer perfectly the first time. Twenty-seven years of guiding hunters through this country turned up plenty of men who shot well and had never once seen the inside of their own deer.
If the whole animal feels like too much, take the backstraps and one hindquarter and send the rest to the processor. You will learn the seams on that one leg, and next season you will butcher a deer start to finish. A few simple ground venison recipes will go through a surprising amount of the grind. More on the animals is on the whitetail deer and mule deer guides, and the rest of the kit is on the Recommended Gear page.
Leave a Reply